
3D embroidery essentials unlock a world where fabric and thread rise into dimension, turning ordinary cloth into tactile art that catches the eye. By choosing the right 3D embroidery tools and embroidery stabilizers, you gain precise control over lift, shape, and durability while reducing puckering. This approach creates depth, from raised lettering to plush motifs, while stitches stay secure through washing and wear under everyday use. Mastering the core elements—quality tools, stabilizers, and practical steps—opens a spectrum of dimensional effects that translate across fabrics, projects, and skill levels. With clear guidance and actionable tips, you can apply these ideas to your next project and start seeing tangible dimensional effects in home decor, apparel, and craft embellishments.
In other words, this concept translates into dimensional stitching that adds height and tactile interest to fabrics. Think of raised lettering, plush motifs, and layered textures achieved through puff-like lift and thoughtful thread placement. The approach shares the same goals as 3D embroidery—structure, durability, and eye-catching depth—yet it emphasizes the materials and methods behind the effect. By exploring terms such as technical stitches, sculpted relief, and layered underlays, you’re applying Latent Semantic Indexing principles to connect with readers seeking 3D embroidery tips. As you experiment, you’ll discover stabilizer types for embroidery and other tooling details that help you reproduce the look across garments and decor.
3D embroidery essentials: Tools, Stabilizers, and Techniques for Depth
3D embroidery essentials redefine how fabric and thread interact to create dimensional art. By focusing on a practical philosophy that blends the right tools, stabilizers, and techniques, you can achieve depth that pops from the surface and remains durable through handling and washing. In this context, the trio of core elements—tools, stabilizers, and practical tips—acts as the foundation for puffed lettering, layered motifs, and plush textures.
As you explore this approach, visualize how each piece supports the others. The right 3D embroidery tools guide stitch placement and control fabric movement; the stabilizers provide the three-dimensional backbone that keeps shapes buoyant; and the techniques you apply determine how height and texture translate into a lasting, tactile result. Together, they unlock a world of dimensional possibilities that are both visually striking and practically robust.
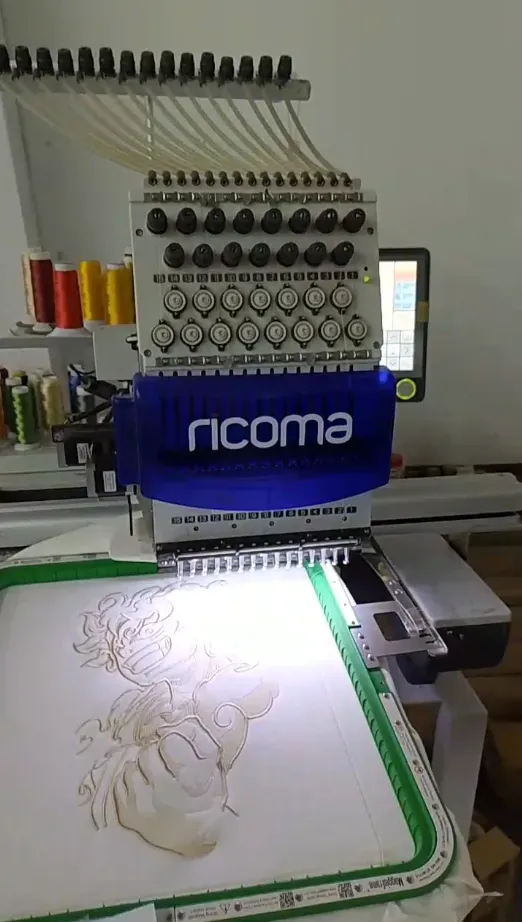
3D embroidery tools: The must-have arsenal for precise, dimensional stitching
Having the right tools is the first step to predictable, high-quality 3D embroidery. A stable hoop or frame anchors your work, while precise needles and compatible threads let you build volume without distorting the fabric. When you pair these 3D embroidery tools with marking aids and sharp scissors, you create a workflow that keeps outlines crisp and layers consistent.
Choosing the right tools also means considering fabric type and project goals. Knit fabrics may benefit from ballpoint needles and understated tension, while dense woven fabrics respond to sharp needles and careful thread selection. The goal is clean penetration, controlled stitch length, and reliable lift that supports puffed elements without sacrificing fabric integrity.
Embroidery stabilizers: Understanding stabilizer types for embroidery and layer strategies
Stabilizers are the foundation that shapes the depth and lift of your design. By understanding stabilizer types for embroidery—tear-away, cut-away, water-soluble, and foam underlays—you can tailor support to your fabric and intended puff. Each option offers a different balance of removal ease, stiffness, and impact on edge definition, allowing you to craft precisely layered 3D effects.
Layering stabilizers is an art in itself. Start with a stable base fabric, add a light underlay to build height, and finish with a backbone that preserves the shape after washing. A dual-stabilizer approach—such as a thin top tear-away paired with a bottom cut-away—can provide both crisp edges and durable structure for complex, dimensional motifs.
Puff embroidery techniques: Building height with foam underlays and layered stitches
Puff embroidery techniques rely on intentional height to achieve a plush, sculpted look. Lightweight foam or foam-backed stabilizers push stitches outward, creating visible lift that reads as dimensional texture. The key is to align foam thickness with your desired height and secure it with edges finished by a careful satin stitch to lock everything in place.
Beyond foam, layering stitches—starting with a base outline and progressively adding depth—gives you control over how each element rises from the fabric. Combine different stitch types and densities to evoke textures such as fur, petals, or scales, while edge finishing helps maintain crisp boundaries around raised shapes.
3D embroidery tips: Practical guidance for tension, testing, and edge finishing
3D embroidery tips emphasize planning, testing, and attention to detail. Sketch your design with a clear plan for puffed areas, so you know where height will occur before you stitch. A basting outline can anchor intricate shapes and reduce shifting as you build up the 3D sections.
Always test on a scrap fabric to predict puckering, distortion, or edge weakness. Managing thread density is crucial—denser areas can feel heavy, so slightly reducing stitch count in high-puff zones helps preserve shape and lift. Clean trims and prudent stabilizer removal are essential to preserving the final appearance.
From concept to creation: Aligning tools, stabilizers, and tips for durable 3D embroidery
A successful 3D embroidery project aligns tools, stabilizers, and technique into a cohesive workflow. The right 3D embroidery tools deliver precise control, stabilizers provide the necessary structure, and the tips guide layering and finishing to ensure durability through wear and washing. This integrated approach helps you achieve depth that holds its form across fabrics and applications.
By optimizing tension, selecting appropriate stabilizers, and applying thoughtful layering strategies, you can move from concept to finished piece with confidence. Whether you’re embellishing apparel or creating decorative patches, the goal is consistent lift, clean edges, and a tactile, dimensional look that stands up to daily use.
Frequently Asked Questions
What are the core components of 3D embroidery essentials for a successful project?
The core components of 3D embroidery essentials are the right 3D embroidery tools for precise control, appropriately chosen embroidery stabilizers to support three-dimensional stitches, and practical 3D embroidery tips to guide layering and height. When combined with puff embroidery techniques, these elements help create raised, durable designs.
How do 3D embroidery tools affect puff embroidery techniques and depth?
3D embroidery tools such as a stable hoop or frame, sharp or ballpoint needles, and quality threads influence stitch quality and control. Pairing these 3D embroidery tools with foam underlays or build-up layers helps achieve consistent puff height and a durable three-dimensional look.
What stabilizer types for embroidery work best with 3D effects?
Choose stabilizers based on fabric and design: tear-away stabilizers for woven fabrics, cut-away stabilizers for knits, water-soluble stabilizers for delicate or sheer fabrics, and foam underlays to create true 3D puff effects. Layering stabilizers helps maintain depth while keeping edges crisp.
What are key 3D embroidery tips to improve dimensional results?
Key 3D embroidery tips include planning layers before stitching, using a basting stitch to anchor outlines, testing on scrap fabric to predict puckering, and managing thread density in high-puff areas to maintain lift without bulk.
How should I layer stabilizers to create true puff embroidery effects?
Begin with a stable base fabric, add a lightweight underlay (foam) to create height, and finish with a back stabilizer (tear-away or cut-away) to preserve shape and lift after washing.
Can you share beginner project ideas that showcase 3D embroidery essentials?
Try a monogram with raised letters, layered floral motifs, or textured borders. These projects illustrate the balance of 3D embroidery essentials—tools, stabilizers, and puff embroidery techniques—to produce durable, dimensional pieces.
| Topic | Key Points | Notes / Examples |
|---|---|---|
| What it is | 3D embroidery essentials create dimensional embroidery that pops from fabric, holds its shape, and stays durable with handling and washing. | Core goal: depth, structure, durability. |
| Core elements | Tools, stabilizers, and techniques work together to unlock 3D effects. | From raised lettering to plush motifs. |
| Tools | Hoop/frame, stabilizers, needles, threads, marking tools, scissors. | Choose based on fabric type and desired puff/volume. |
| Stabilizers | Tear-away, cut-away, water-soluble, foam/underlays. | Provide lift, shape, and removal options; layer for balance. |
| Layering approach | Base fabric + temporary stabilizer + underlay + backbone stabilizer. | Dual-stabilizer methods improve wash stability. |
| Tips & techniques | Plan layers, use basting stitches, test on scrap, manage density, trim as you go. | Prevents puckering, movement, and edge issues. |
| 3D effects & finishes | Puff letters, layered motifs, textured fills, and precise edge finishing. | Combine stitches and layers for depth and definition. |
| Common mistakes | Puckering, slippage, visible stabilizer borders, uneven puff height. | Address with stabilized choice, tension, and planning. |
| Project ideas | Monograms with raised letters; floral depth; textured borders; decorative patches. | Use varied heights and stitches for interest. |
Summary
Conclusion: 3D embroidery essentials blend tools, stabilizers, and techniques to turn flat fabric into dimensional art. By selecting the right tools, stabilizers, and layering strategies, you can achieve durable, lifted effects that withstand washing and daily wear. As you explore different designs and fabrics, you’ll develop a signature look that embodies the true spirit of 3D embroidery essentials.