
3D embroidered textures open up exciting possibilities for textile artists, crafters, and designers seeking tactile drama and expressive surfaces that invite slow, close-range appreciation. By combining foam and felt with traditional embroidery stitches, you create tangible surfaces that catch light, cast subtle shadows, reveal new dimensionality as you move around the piece, and even allow edge details to shimmer against the fabric. This approach adds depth and dimension to garments, decorative pillows, or wall-mounted textiles, transforming flat motifs into sculptural narratives that interact with light, space, and the viewing angle. The technique rests on careful layering, deliberate height variation, and a thoughtful mix of stitches to build tactile details that stay durable yet flexible for wear or display, while keeping the overall silhouette versatile. To get started, explore foam embroidery techniques and practice on swatches before translating the texture into a finished project, then assess how thickness variations affect drape, stability, and the piece’s tactile conversation with light.
An alternative framing for this work is dimensional stitching, where layers of foam and felt create volume and tactile emphasis rather than flat color alone. This approach embraces texture-forward design, giving textile pieces a sculptural presence that can adapt from fashion details to home decor. Practitioners can talk about layered textiles and relief embroidery, focusing on height, contour, and light interaction. By exploring variations in thickness, backing materials, and stitching density, designers unlock a spectrum of surfaces—from soft bas-relief to bold, architectural accents. In practice, the concept aligns with the broader language of textile sculpture, where foam-backed forms anchor experiments in form, color, and light.
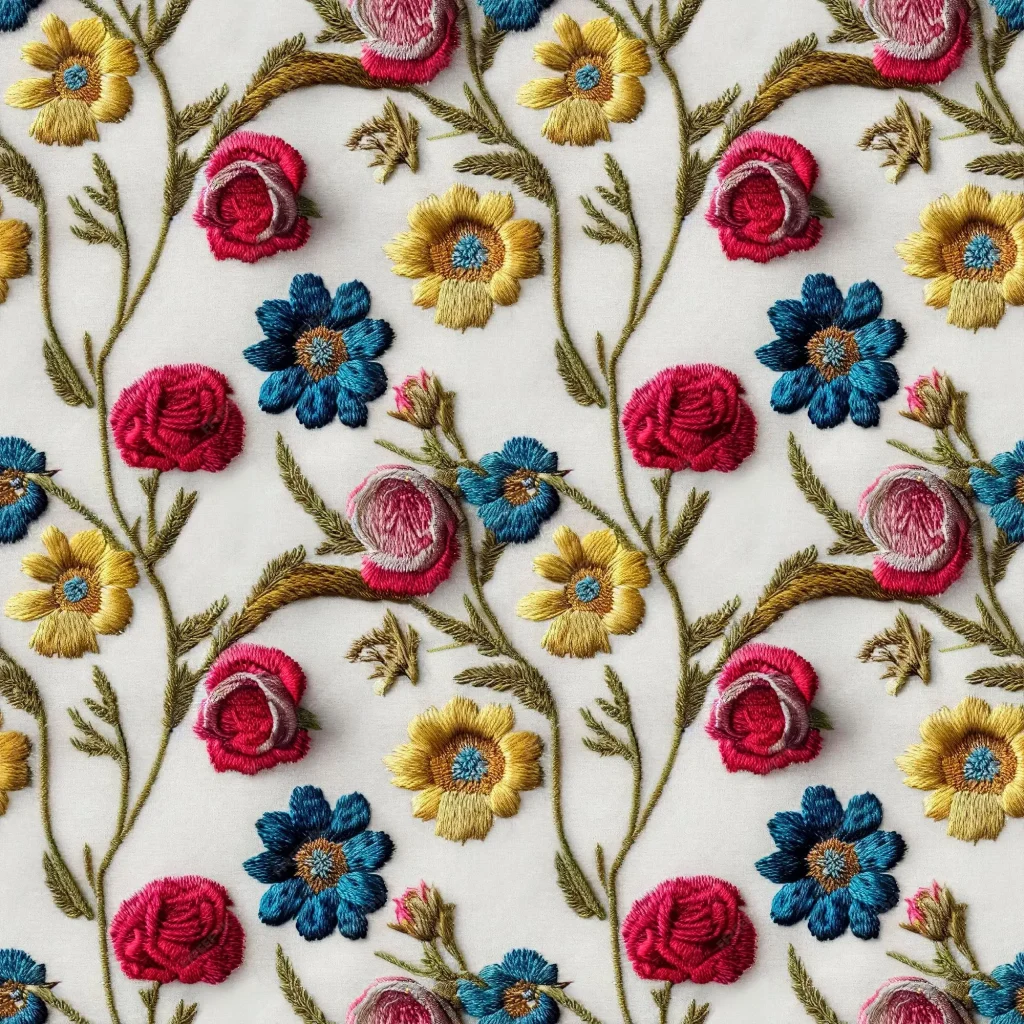
3D Embroidered Textures Unfold in Textile Art: Foam and Felt as Sculptural Elements
3D embroidered textures expand the vocabulary of textile art by turning flat surfaces into tactile, sculptural forms. When foam and felt are combined with traditional embroidery stitches, you create surfaces that catch light, cast soft shadows, and reward close inspection. This approach mirrors the language of textile art with foam and felt, offering depth and dimensionality that flat embroidery cannot achieve.
In practice, you balance foam embroidery techniques with careful felt layering to build volume. Foam provides height and structure, while felt offers a stable, color-rich backdrop that hides stitch lines and softens edges, allowing raised embroidery textures to read clearly from a distance and up close.
Foam Embroidery Techniques: Building Height with Foam Shapes and Stabilizers
Foam embroidery techniques begin with selecting the right foam thickness and cutting shapes that encourage height variation. Thicker pieces anchor the center of a petal or block, while thinner layers form delicate rims to create a natural sculpted look. Pair this with a stabilizer behind the fabric to keep stitches precise as you work.
Use a sharp needle and tested stitch tension to stitch through foam, starting with simple running stitches or small backstitches to anchor pieces without sinking them. A dab of fabric glue can secure pieces before stitching, and layering additional foam can create distinct height variations that read as depth.
Felt Layering for Depth and Color Transitions in Foam-Based Embroidery
Felt layering becomes the color and depth engine for your 3D textures. Layer different felt shapes over the foam to add shade, subtle color transitions, and a soft edge that conceals seams. Felt also mutes the white edge of foam and gives textures a finished, handcrafted feel.
When planning, consider how light will interact with layers. Deeper felts beneath brighter tops create a sense of depth, while ensuring clean seams enhances readability of the motif. Intentional felt layering, followed by thoughtful stitching around the edges, helps achieve smooth gradient transitions across the foam-based design.
Textile Art with Foam and Felt: Projects from Wall Pieces to Wearable Details
Textile art with foam and felt opens a wide range of projects—from dramatic wall hangings to wearable embellishments. Sculpted motifs on decorative pillows and soft sculpture pieces demonstrate how foam textures catch light differently than flat embroidery, offering a tactile focal point for any space.
For each project, plan scale, color, and balance. Start with a simple motif, map the height you want, and outline how felt layers will transition across the foam to create rhythm. This approach showcases the versatility of textile art with foam and felt in both home decor and fashion accents.
Techniques for Realistic Depth: Stitches, Weight, and Raised Embroidery Textures
Realistic depth comes from a deliberate mix of stitches and thread weights. Satin stitches fill raised surfaces, French knots provide tactile punctuations near foam peaks, and couching secures decorative cords on top of foam without flattening the structure. Together, these stitches build raised embroidery textures you can feel as well as see.
Adjust stitch length and tension to mimic natural textures. Shorter stitches yield crisp edges, longer stitches create organic lines, and thoughtful layering with foam and felt helps maintain the foam’s silhouette. This combination of techniques supports deeper, more convincing dimensional embroidery.
Finishing Touches and Care for Foam and Felt Embroidery
Finishing touches bring coherence and longevity to foam and felt embroidery. Trim excess backing, secure loose threads, and consider backing the piece with a thin layer of felt for a clean, durable finish. A light fabric sealant can protect raised textures without dulling their tactile quality.
Care and maintenance are essential for pieces that see daily handling. Gently dust with a soft brush, spot-clean with a mild detergent solution, and air dry away from direct sunlight. For extra durability, a light protective spray can help preserve color and the sculpted look over time.
Frequently Asked Questions
What are the essential foam embroidery techniques for creating 3D embroidered textures?
Essential foam embroidery techniques include cutting and shaping foam into base forms, varying foam thickness for height, and attaching pieces securely before stitching. When combined with felt layering, these 3D embroidered textures gain depth and dimension while keeping the surface lightweight and flexible.
How does felt layering contribute to 3D embroidered textures in textile art with foam and felt?
Felt layering adds color depth and a stable backing, helping conceal foam edges and create smooth transitions between layers. By layering felt over foam, you build raised embroidery textures with soft, tactile surfaces.
What materials and tools are ideal for achieving raised embroidery textures with foam and felt?
Gather foam sheets, assorted felt, sharp embroidery and tapestry needles, embroidery floss, a stabilizer or hoop, fabric glue, scissors, and a tracing marker. These tools support creating durable 3D embroidered textures in textile art with foam and felt.
Can you outline a step-by-step approach to building 3D embroidered textures using foam and felt?
Design and plan your composition, cut and prepare foam shapes, position and glue foam on backing, layer felt over the foam, secure edges with stitching, embroider for texture with varying stitches, and finish by trimming and sealing as needed.
Which stitches work best for creating realistic depth in 3D embroidered textures?
Use a mix of blanket stitches or whip stitches around foam edges to anchor layers, satin stitches to fill spaces, and French knots or bullion knots for raised focal points. Vary thread weight to emphasize raised areas while maintaining a balanced look in 3D embroidered textures.
How should color be planned when working with foam and felt to maximize 3D embroidered textures?
Choose a palette that simulates light and shadow, test colors on a swatch, and layer felt pieces to create smooth transitions. Lighter tones on raised tips and darker tones at the base help the 3D embroidered textures read as dimensional, especially in textile art with foam and felt.
| Aspect |
|---|
| Introduction to 3D Embroidered Textures (foam + felt) create tangible, sculpted surfaces that catch light and invite close inspection, enabling depth and dimension beyond flat embroidery. |
| Why Foam and Felt |
| Materials and Tools You’ll Need |
| Working with Foam |
| Creating Felt Layering and Depth |
| A Step-by-Step Approach to 3D Embroidered Textures |
| Stitch Techniques for Realistic Depth |
| Color Strategy in 3D Embroidered Textures |
| Practical Projects and Applications |
| Tips for Successful 3D Embroidered Textures |
| Troubleshooting Common Issues |
| Inspiration and Ideas for Further Exploration |
| Care and Maintenance |
Summary
3D embroidered textures open new possibilities for textile artists by blending foam and felt with traditional stitches to build tactile, sculpted surfaces. This approach lets you craft depth and dimension that elevate garments, decor, and soft sculptures. With thoughtful material selection, layering, and color strategy, you can create dynamic, multi-dimensional works that invite close inspection and celebrate the beauty of texture in textile art.