
DTF Design Best Practices start long before you press a single key, shaping every transfer’s look, color accuracy, and durability across fabrics and finishes. From DTF file setup to color handling, these guidelines streamline your entire workflow, reduce back-and-forth revisions, and help you predict outcomes with confidence. They help you plan color handling, preserve edge quality, and minimize waste across apparel, bags, textiles, and accessory projects. Following practical steps reduces surprises at the press and keeps results consistent across runs, from proofing to final production. Adopting a clear design framework and robust production notes ensures every project starts on solid ground and scales smoothly.
From an alternative viewpoint, this topic becomes transfer preparation and print-ready workflows that prioritize color fidelity and dependable results. Think in terms of asset readiness, robust file structure, and validation steps rather than rigid checklists, and you’ll align designers with production. Using LSI-friendly language helps teams communicate about color accuracy, tonal balance, and printability across fabrics without overrelying on a single term. As you build the handoff, document the intended HDR effects for DTF to guide printers and preserve the look within the fabric’s limits.
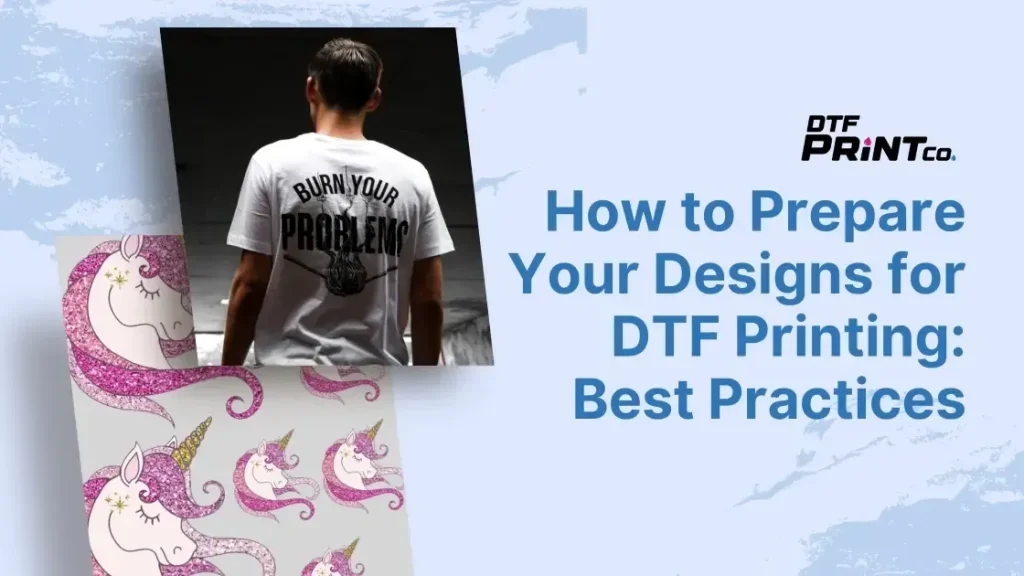
DTF Design Best Practices: Foundations for Consistent Transfers
DTF Design Best Practices set the standard from concept to transfer. When you align file setup, color management, and HDR-like enhancements early, you build a predictable workflow that reduces surprises at the press. By treating DTF design guidelines as a roadmap, you ensure every asset contributes to consistent hue, sharp edges, and durable finishes.
In practice, focusing on DTF file setup and DTF color management allows teams to plan print area, resolution, bleeds, and safe zones before any layer is created. This descriptive approach yields time savings and reduces waste, while aligning with HDR effects for DTF plans that preserve detail in highlights and midtones.
DTF File Setup Essentials for Sharp, Scalable Artwork
A robust DTF file setup starts with clear print area, final size, and baseline resolution. Decide on 300 PPI for apparel, or 200-300 PPI for larger prints and rely on vector edges to remain sharp. Document exact width and height, and maintain consistent resolution across assets to avoid blur at scale; this is the core of DTF file setup.
Choose color mode and transparency strategy with care as part of DTF file setup. Use layered source files (PSD/TIFF) and export a production-ready version in the target color space. Label files clearly (project_name_version_date) and include an asset map to map positions, sizes, and color values, ensuring your DTF file setup supports smooth handoffs to production.
DTF Color Management: Predictable Hue from Screen to Fabric
DTF color management begins with calibrating displays and applying color profiles. Build a reliable workflow using ICC profiles and soft-proofing to anticipate hue shifts before printing. Consistency is achieved when designers rely on color references and a controlled workflow, aligning on-screen color with the fabric print, which is the essence of DTF color management.
Develop a palette with swatches and named colors for skin tones and fabrics, ensuring accessibility and contrast on textiles. Keep gradients within the printer’s gamut and use DTF color management to maintain predictable results across runs; test with sample swatches to validate color fidelity and reduce surprises in production.
HDR Effects for DTF: Adding Depth Without Sacrificing Print Fidelity
HDR Effects for DTF: adding depth requires care. Understand that HDR in print is simulated; avoid pushing highlights beyond the printer’s gamut. Plan HDR-like edits as enhancements, not as attempts to exceed device limits, so your depth reads well when transferred to fabric.
Balance glow, bloom, and edge crispness with anti-aliasing. Export with controlled tonality so midtones retain detail when transferred. Document HDR intent in asset specs to keep production teams aligned on the expected look and to maintain fidelity across runs.
DTF Printing Tips and Proofing: From Soft Proofs to Production Ready
Printing Tips: begin with calibrated equipment and appropriate heat press settings to match the media and inks. Verify platen temperature, dwell time, and adhesive behavior, and test with a white underbase when required. These DTF printing tips help avoid surprises in production and ensure color and texture fidelity on every garment.
Develop iterative proofing loops with on-screen soft proofs, coated media tests, and live garment mock-ups. Use version control for exported assets and document any deviations in color, density, or alignment to guide tweaks before mass production, ensuring a smooth transition from proof to production.
DTF Design Guidelines: Layout, Typography, and Asset Organization
Design Guidelines drive readability and visual impact on fabric. Favor clear typography, robust strokes, and balanced composition that remains legible after transfer. Establish margins, safe areas, and color contrasts that translate well to textiles, aligning with broader DTF design guidelines.
Organize assets with scalable vector elements where possible, consistent naming, and locked layers to prevent accidental edits. Maintain an asset map, standardized color libraries, and versioning so teams can re-use components across projects while honoring the DTF design guidelines, improving consistency and faster collaboration.
Frequently Asked Questions
What are essential steps in DTF file setup to ensure high-quality transfers?
DTF file setup starts with defining the print area and a baseline 300 PPI resolution. Use RGB as the working color space, and soft-convert to CMYK if your workflow requires it, keeping a native RGB master for edits and exporting a print-optimized version. For formats and transparency, keep layered sources (PSD/TIFF) and export production-ready versions (flattened or PNG with alpha), with clear naming and an asset map. Include 3–5 mm bleeds and a safe area, and organize assets with consistent naming and scalable vector elements where possible. Finish with a simple export checklist: verify dimensions and resolution, color profile, transparency handling, accepted formats, and correct naming.
How does DTF color management influence color accuracy from screen to fabric?
Calibrate your monitor with a hardware device and use an ICC profile to create a reliable baseline. Apply the printer’s ICC profile when exporting print-ready files and use soft-proofing to anticipate on-press shifts. Build a small library of named color swatches for consistent tones and ensure gradients stay within the printer’s gamut. Maintain high-contrast designs for legibility on fabric and test colors on swatches to confirm behavior after transfer. Be mindful of HDR-like effects and verify adjustments don’t push colors beyond the printable gamut.
What are HDR effects for DTF and how should they be handled to avoid print issues?
HDR-like effects can add depth but fabric printing has practical limits, so treat HDR edits as enhancements rather than tonal overdrive. Build depth with tonal range, gradients, and subtle textures rather than extreme brightness, and ensure export tonal values stay within the printer’s range. If you use glow, test on a production sample to confirm it remains controlled and avoid halos. Preserve edge quality with anti-aliasing and consider rasterizing layers if needed for print fidelity. Finally, document HDR intent in asset specs so production understands the look.
What practical DTF printing tips can improve reliability and consistency?
Start with practical printer settings: verify speed, platen temperature, and heat-press times for your media and inks, and confirm the white underbase and film layers reproduce correctly. Use iterative proofs—on-screen proofs, coated-media proofs, and garment mock-ups—to catch color, density, and alignment issues early. Maintain mock-ups and versioned exports to track revisions, and avoid oversized raster assets and hairline fonts; preview every export against the print area to ensure alignment. Do soft-proofing to minimize waste and document every design decision for future work.
What key DTF design guidelines ensure scalable, clean artwork?
DTF design guidelines favor vector elements for logos and text to preserve edge quality at any size, and fonts should be outlined or embedded to prevent font issues. Plan for adequate contrast and legibility across fabric colors, and account for bleeds and safe areas to avoid clipping. Keep assets organized with clear naming and color values, and prefer scalable file exports that preserve transparency when needed. Follow these guidelines to maintain clean, scalable artwork across projects.
How do workflow, proofing, and QA fit into DTF design guidelines and best practices?
Begin with a clear design brief and DTF design guidelines that define print area, color expectations, and HDR-like features. Build iterative proofs—soft proofs, coated-media proofs, and garment mock-ups—and compare them to refine the final export. Calibrate print parameters and verify compatibility with your printer, heat press, and media, ensuring correct white underbase and film layers. Use mock-ups and asset versioning to track revisions, and perform final QA checks for alignment, scale, color consistency, and edge integrity before production. Document decisions to maintain consistent standards across projects.
| Topic | Key Points |
|---|---|
| File Setup for DTF Design | – Define print area and resolution: final print size; baseline 300 PPI; for very large prints, 200–300 PPI with vector edges; maintain consistent resolution; document width/height and ensure consistency across assets. – Choose color mode and manage color space: start in RGB; consider CMYK soft conversion and soft-proof; keep native RGB working file; export a print-optimized version in target color space. – Plan file format and transparency: keep editable source (PSD/TIFF); export flattened production versions; PNG with alpha for transparency; separate white underbase as needed; label files clearly and include an asset map. – Manage bleeds, safe areas, and cropping: apply 3–5 mm bleed; define safe area to avoid clipping. – Keep assets organized and scalable: prefer vector elements for sharp edges; group layers; consistent naming for colors, layers, swatches. – Build a practical export checklist: verify dimensions/resolution, color profile, transparency, accepted formats, naming conventions. |
Summary
HTML table summarizes the key points of DTF Design Best Practices, highlighting file setup, color management, HDR-like effects, workflow and QA, and practical tips.