
DTF transfers troubleshooting is a vital skill for anyone in apparel decoration who wants reliable, vibrant results. Understanding how variables like ink density, adhesive powder, and heat press timing influence adhesion helps you diagnose DTF transfers issues quickly and minimize downtime. This guide also offers practical strategies, including DTF printing quick fixes that keep production moving when colors fade or press times drift. For a structured approach, refer to How to fix DTF transfer problems and apply step-by-step checks that reduce reprints and waste. Following a clear DTF transfer troubleshooting guide ensures steadier results and helps prevent DTF print quality problems across fabrics and designs.
In other terms, this topic can be framed as direct-to-film workflow troubleshooting, where adhesion, curing, and color management determine durability. LSI-friendly language includes DTF transfer reliability, film-to-fabric adhesion challenges, pigment consistency, substrate compatibility, and colorfastness considerations. Focus areas include optimizing curing, controlling humidity, and ensuring consistent powder application to prevent edge lift and ghosting. By mapping outcomes to fabric type, press temperature, dwell time, and pre-press routines, you create a practical, web-friendly framework for ongoing quality control. In short, this is DTF transfers troubleshooting.
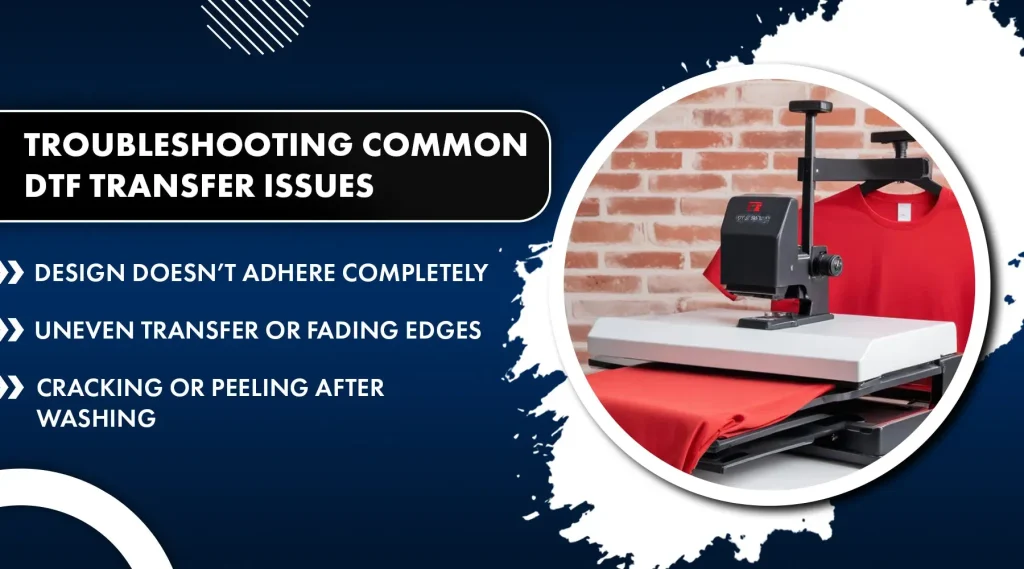
DTF transfers issues: diagnosing common symptoms and causes
DTF transfers issues present as faded or dull prints, cracking or peeling after washing, white powder residue, misregistration, ghosting, or dye migration. These symptoms often point to a combination of process variables, including adhesive curing, ink density, transfer temperature, and the condition of the transfer paper. Understanding the typical causes helps you quickly narrow the root problem rather than chasing multiple symptoms at once.
Start with a controlled diagnostic approach: print a small test strip on the target fabric and check color saturation, adhesion, and edge quality after curing. Review each variable—ink density, powder quality, curing temperature and dwell time, fabric moisture, and platen cleanliness—until you isolate the factor driving the issue. This approach aligns with standard DTF printing quick fixes and guides you toward effective How to fix DTF transfer problems efficiently.
Boost color fidelity with proper ink density and color management
Color fidelity begins with accurate ink density and reliable color management. Calibrate the printer, verify ICC profiles, and run test prints against a known reference on the same substrate. When colors look washed out or oversaturated, adjust saturation, gamma, and print mode to restore expected vibrancy. These steps reflect common DTF printing quick fixes and help address DTF print quality problems at the source.
Incorporate substrate-specific color management: create or adopt profiles for cotton, blends, and polyester, and validate them with small batches before production. Use color-proofing tools and consistent lighting when evaluating proofs to ensure perception matches the final garment. This approach reduces color drift and improves long-term consistency across runs.
Optimizing powder quality and application for adhesion
Powder quality and application are central to adhesion. Use consistent powder coat thickness, spread evenly, and monitor humidity to avoid clumps or powder shedding during transfer. If the powder clumps or pulls away, recheck the coating process, humidity control, and storage conditions to prevent inconsistent results.
Ensure the glue/powder fusion is tuned by adjusting curing temperature and dwell time and verifying a proper pre-heat to reduce edge lifting. Inspect the platen and transfer film for residue that could interfere with powder adhesion, and run periodic checks on powder supply to maintain performance.
DTF transfer troubleshooting guide: curing, heat, and fabric prep
DTF transfer troubleshooting guide emphasizes and clarifies curing and heat parameters. Typically, a higher curing temperature and longer dwell time improves adhesion and color stability, but excessive heat can cause scorching or ink bleed. If peeling shows up, incrementally increase temperature or duration and re-test on a representative fabric.
Fabric prep and handling are part of the guide too: pre-warm the garment to remove moisture, wrinkle it flat, and secure the transfer with a non-slip mat or clamps. Align the design precisely, then apply heat with consistent pressure. Following these steps helps minimize common DTF transfers issues and is a practical foundation for how to fix DTF transfer problems.
Prevent misregistration with alignment, platen condition, and press setup
Misregistration and edge lifting are common DTF transfers issues when the transfer shifts during heat, the platen is dirty, or pressure is inconsistent. Inspect the platen surface for warping, ensure the transfer is properly centered, and verify that your non-slip mat or hold-down system is functioning.
Before printing again, re-check alignment marks, reprint a test strip, and confirm the artwork remains stable within the transfer medium. Maintain consistent clocking and avoid interruptions during the heat cycle. A disciplined press setup reduces misregistration and improves repeatability across fabric types.
Testing, validation, and continuous improvement for reliable results
Develop a structured testing plan for each fabric and color family. Use a controlled set of garments with similar fabric content to compare temperatures, dwell times, and pressure, and document the exact settings and outcomes for future reference. This program supports continuous improvement in DTF transfers performance and aligns with the idea of a DTF transfer troubleshooting guide in practice.
Validate durability with wash tests and colorfastness tests across multiple cycles. Record any changes in performance and consider pre-treatment or stabilizers when beneficial. Keep a running library of results, so you can quickly select proven settings for new designs, reducing downtime and reinforcing reliable print quality across materials.
Frequently Asked Questions
What are the most common DTF transfers issues and how can DTF transfers troubleshooting help mitigate them?
DTF transfers troubleshooting helps pinpoint root causes of issues like fading colors, cracking, powder residue, misregistration, ghosting, and dye bleed. Start with a quick test strip, verify ink density and printer calibration, check the powder coat and curing parameters, prep the fabric properly, and re-test to confirm improvements.
Which DTF printing quick fixes should you try first when you notice fading colors or dull prints?
Begin with DTF printing quick fixes: recalibrate the printer and ensure color profiles match the substrate, increase ink saturation or adjust the gamma curve, run test prints, and verify curing temperature and dwell time. Also confirm proper powder application and pre-press fabric to reduce moisture-related issues.
How to fix DTF transfer problems such as cracking, peeling, or misregistration?
Address adhesion issues by ensuring full curing of the adhesive, adjusting heat press temperature and dwell time, pre-press garments to remove moisture, and securing accurate alignment with a non-slip mat. Reprint a test strip to verify registration and make small iterative adjustments.
What should a DTF transfer troubleshooting guide include to systematically resolve issues across fabrics and equipment?
A solid guide should outline a diagnostic workflow (test strips, ink density checks, powder quality, and curing validation), fabric compatibility notes, transfer paper condition, heat press guidelines (temperature, pressure, dwell time), environmental controls, and a maintenance plan for printers and platens.
What are common DTF print quality problems and how can you diagnose and fix them quickly?
Common problems include color fade, color bleed, ghosting, edge curling, and powder residue. Diagnose with a small test strip, verify ink density and color accuracy, check powder curing and adhesion, ensure proper fabric stabilization, and adjust pre-press and heat-press settings as needed.
How can you optimize curing temperature, powder quality, and heat press timing to prevent DTF transfers issues?
Follow manufacturer-recommended parameters and calibrate consistently. Ensure even powder coating, maintain stable environmental conditions, and use a controlled dwell time and pressure. Conduct a structured test plan, document the settings and outcomes, and adjust iteratively to improve adhesion and color stability.
| Topic | Key Points |
|---|---|
| Introduction | • DTF transfers troubleshooting is essential for apparel decoration; DTF printing offers vibrant colors and great flexibility; troubleshooting focuses on common issues and practical fixes; understanding how variables (powder quality, heat press timing) affect results leads to cleaner prints, stronger adhesion, and longer‑lasting designs. |
| Common DTF transfer issues |
|
| Quick fixes and best practices (DTF transfers troubleshooting) |
|
| Diagnosing problems and step-by-step troubleshooting |
|
| Testing, validation, and iterative improvements |
|
| Fabric considerations and a practical workflow |
|
Summary
Table presents a concise, English-language summary of the main points from the base content to support quick reference and decision-making in DTF transfers troubleshooting.