
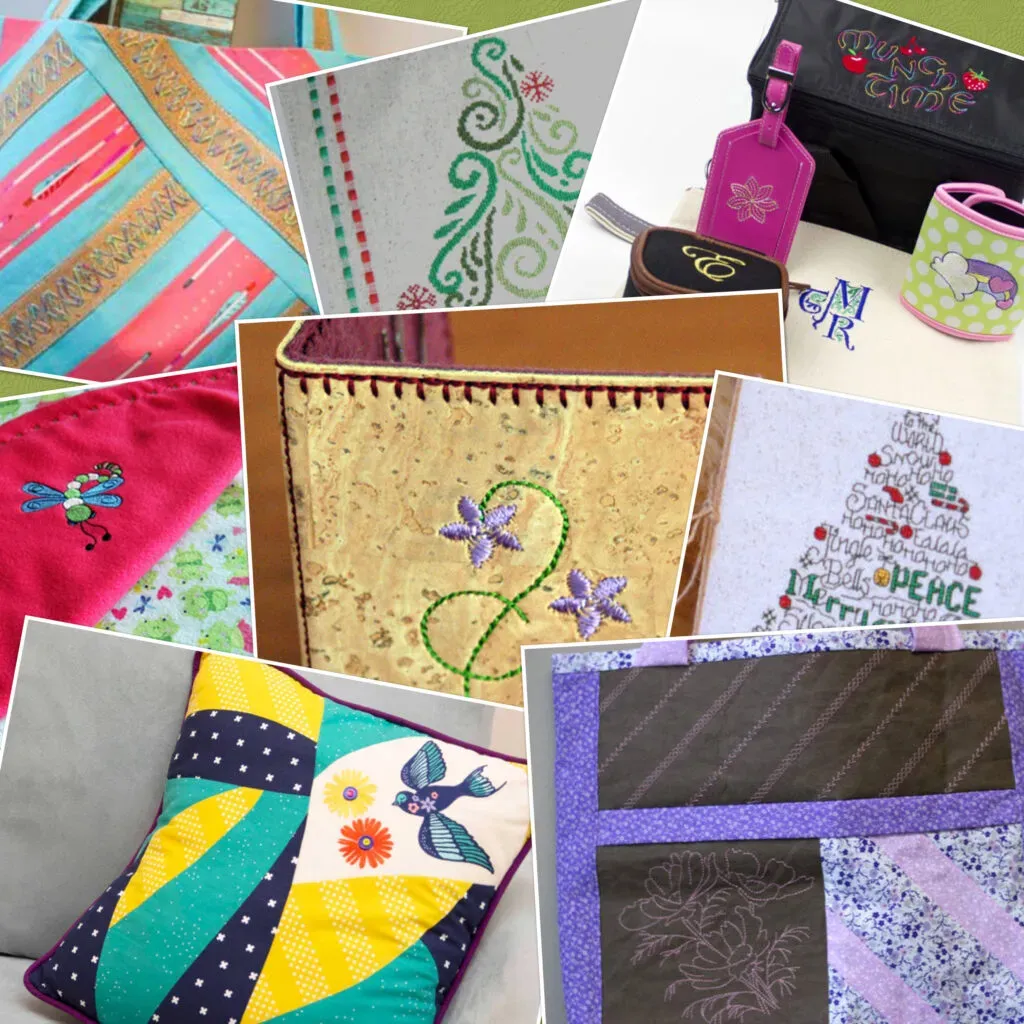
Start Embroidered Projects is all about turning simple thread and fabric into wearable art and home accents, even if you’re new to stitching. If you’re wondering how to start embroidery project, this guide breaks it into small, doable steps. To set you up for success, this guide highlights essential embroidery tools and a starter embroidery kit that bundles fabrics, threads, and needles in one package. You’ll explore beginner embroidery stitches and consult a basic embroidery stitches list to guide your practice. By starting with accessible patterns and steady practice, you’ll build momentum and enjoy the satisfying rhythm of stitching.
For a friendly kickoff, imagine hand embroidery as a relaxed creative routine rather than a race, with simple motifs and easy-to-handle fabrics guiding your learning. Beginner-friendly projects give you room to practice crucial techniques using a small hoop, sharp needles, and even, steady stitches. As you grow, you’ll mix in different colors and textures, expanding your vocabulary of stitches and design concepts through practical, hands-on exploration. By applying Latent Semantic Indexing ideas, you’ll see related terms such as needlework basics, starter projects, simple outlines, and incremental skill-building connect ideas for readers and search engines alike.
Start Embroidered Projects: A Gentle Jumpstart for Beginners
Embarking on your first embroidered project doesn’t require a perfect studio or a full kit. The path to confident stitching begins with a small design, light fabric, and a willingness to practice the motion of the hand. When you ask, ‘how to start embroidery project’, start by choosing a motif that fits in a small hoop and uses a few bright colors. This keeps the process approachable and enjoyable.
With the right mindset, you can begin immediately using a starter embroidery kit and the essential embroidery tools. Having the basics on hand—an embroidery hoop, sharp needles, cotton floss in a few bright hues, and a simple pattern—lets you focus on the feel of the stitches rather than hunting for supplies. A calm setup reduces early frustration and builds consistent habits from day one. You’ll also lean on beginner embroidery stitches as you gain confidence and fluency with the basics.
Choosing a First Simple Design: Patterns that Build Confidence
Choosing a first design sets the tone for success. Look for a pattern around 3-4 inches on light cotton or linen; such size provides a quick sense of accomplishment and helps you build muscle memory with clear lines. The goal is to practice the rhythm of beginner stitches and learn how fabric responds to tension, rather than chasing intricate shading.
Consult a basic embroidery stitches list to plan your practice. Select a motif that can be built with beginner stitches like backstitch and running stitch while you develop comfort with hand movements and stitch length. This approach keeps your first project focused, rewarding, and free from overwhelm, while giving you a tangible sense of progress.
Tools and Materials: Building a Starter Embroidery Toolkit
Your toolkit matters more than you might assume. When you assemble the essential embroidery tools, you reduce frustration and increase enjoyment. Start with a small, sturdy hoop, a sharp needle, a few colors of high-quality cotton floss, and a pair of precise scissors.
A starter embroidery kit can save both time and decisions. It bundles fabrics, threads, needles, and patterns so you have a cohesive starting point and a clear path forward. Even if you already own some supplies, reviewing them through a starter kit lens can streamline your practice sessions and help you stay focused on learning the basics.
Mastering Essential Stitches: From Backstitch to French Knot
Building a solid foundation means practicing a handful of stitches until they feel automatic. Begin with backstitch for clean outlines, satin stitch for blocks of color, and running stitch for texture. Add split stitch for ribbed detail and French knots for tiny, dimensional accents as your control grows.
Refer to a basic embroidery stitches list to ensure you’re covering core techniques. Practice on scrap fabric first to dial in tension, stitch length, and placement before applying to your main piece, and gradually mix stitches to add interest to your design. As you work, remember that beginner embroidery stitches cultivate both accuracy and confidence.
Transferring Patterns and Hoop Setup for Flawless Stitches
Transferring your design accurately sets the stage for smooth stitching. Use a marking tool on scrap to test visibility, then trace onto your fabric with light lines. Place the fabric in a taut embroidery hoop and tighten gradually so the weave remains even and the design sits where you expect.
Double-check alignment before you begin. If the fabric shifts, reroute the lines and retighten the hoop. These careful steps align with proven guidance on how to start embroidery project and help prevent distortions that frustrate beginners.
From Practice to Projects: A Step-by-Step Starter Project Plan
Translate practice into a complete starter project by following a simple, repeatable plan. Gather supplies, prepare the fabric, transfer the pattern, and begin with a bordered edge using backstitch. Then fill blocks with basic stitches, add texture with French knots, and finish with secure knots or weaving.
Maintain a small project journal to record what went well and what challenged you. This log supports progression from beginner embroidery stitches to more advanced designs, especially as you expand your toolkit with a broader color range and new patterns. With steady effort, you can Start Embroidered Projects with growing confidence.
Frequently Asked Questions
How can I Start Embroidered Projects as a complete beginner?
Begin with a small, simple design on lightweight fabric and learn a few beginner stitches. Use a basic toolset—like an embroidery hoop, a few colors of embroidery floss, and a sharp needle—and consider a starter embroidery kit to keep supplies organized. This approach helps you build rhythm and control as you Start Embroidered Projects.
Which stitches from the basic embroidery stitches list are best for the first Start Embroidered Projects?
Begin with backstitch, running stitch, satin stitch, split stitch, and French knot. Practice each on scrap fabric before applying to your Start Embroidered Projects to build accuracy and confidence.
What are the essential embroidery tools you need to begin Start Embroidered Projects?
Key items include an embroidery hoop, sharp needles, a small palette of cotton floss, scissors, and fabric marking tools. A thread conditioner is optional but helpful. If you’re using a starter embroidery kit, it can include these essentials to jump-start Start Embroidered Projects.
Why should I consider a starter embroidery kit for Start Embroidered Projects?
A starter embroidery kit bundles fabrics, threads, needles, and patterns in one package, giving you a cohesive starting point and reducing decision fatigue. It helps you begin Start Embroidered Projects with clear guidance and fewer supply mismatches.
What is a simple step-by-step plan for a beginner to start an embroidery project?
Step 1: gather supplies; Step 2: prep fabric in the hoop; Step 3: transfer the pattern; Step 4: begin with a border using backstitch or running stitch; Step 5: fill with beginner stitches like satin or split stitch; Step 6: add texture with French knots; Step 7: finish securely; Step 8: wash and frame if possible. This plan provides a clear path for Start Embroidered Projects.
What common mistakes should I avoid when starting Start Embroidered Projects?
Avoid tension fluctuations that cause puckering, uneven stitch length, color bleeding from poor quality floss, and pattern distortion from a loose hoop. Practice on scrap first and adjust tension and placement as you stitch to improve Start Embroidered Projects results.
| Topic | Key Points |
|---|---|
| Introduction | Embroidery is a timeless craft; you can start right away with a handful of stitches and the right tools. The goal is to move from fabric and thread to a finished piece, learning which stitches to start with, the essential tools, and a straightforward plan. |
| Choosing Your First Project | Start small (3–4 inches) on lightweight cotton/linen. Pick a design with clear lines (e.g., tiny flower, initial, or simple geometry) and decide if you’ll frame, tote, or hoop-hang it. |
| Essential Stitches for Beginners | Backstitch, Running stitch, Satin stitch, Split stitch, French knot. Practice on scrap fabric to build muscle memory and confidence. |
| Tools and Materials | Hoop, needles, embroidery floss, scissors, fabric marking tools, optional thread conditioner. A starter kit can bundle everything you need. |
| Transferring Pattern & Hoop Prep | Trace or print the design on fabric, then hoop it taut (not overstretched). Tighten gradually and retighten if any slack appears. |
| A Simple Starter Project Plan | 8-step outline: gather supplies, prep fabric, transfer pattern, add a border with beginner stitches, fill with stitches, add texture/details, finish and secure, wash and frame. |
| Common Mistakes | Tension issues, uneven stitches, color bleeding, and pattern distortion. Fixes include practicing on scraps, using quality floss, and ensuring a flat hoop. |
| Progression & Practice Next Steps | Build confidence by expanding stitches gradually, keep a small project journal, try new textures, and assemble a practice swatch collection. |
| Closing Thoughts | Regular stitching, organized materials, and celebrating small victories help you steadily grow. Start Embroidered Projects becomes more enjoyable as skills advance. |
Summary
Conclusion: The table above highlights the core ideas to help beginners Start Embroidered Projects with clarity. It emphasizes choosing a simple starter design, gathering the right tools, learning a handful of fundamental stitches, following a practical step-by-step plan, and avoiding common mistakes. By focusing on small, manageable projects and a consistent practice routine, beginners can build confidence and progressively take on more complex patterns. Start Embroidered Projects today to turn curiosity into tangible, stitch-by-stitch progress.