
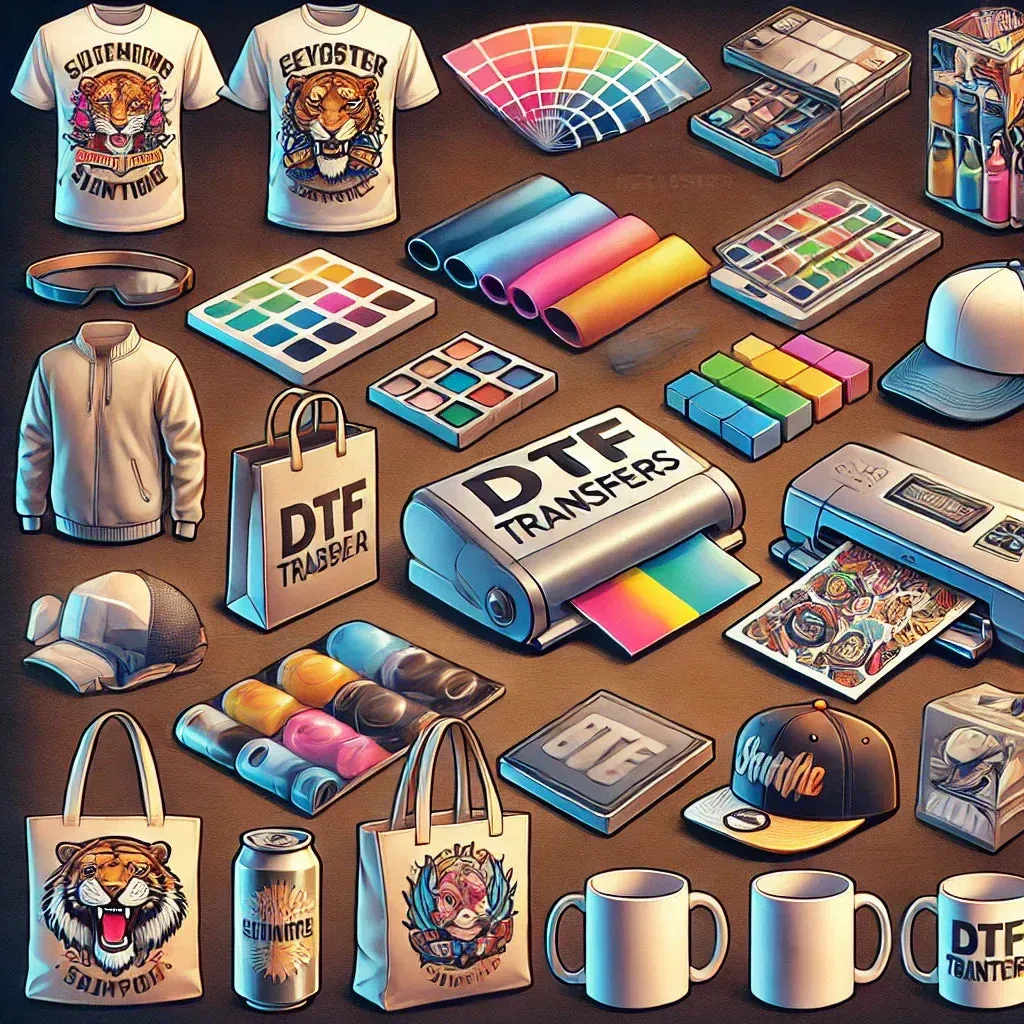
DTF transfers are revolutionizing how independent designers, hobbyists, and small studios print on fabric. This guide introduces DTF printing, also known as Direct-to-Film printing, and shows how beginners can start creating vibrant apparel. You’ll learn the essential workflow, the equipment you need, and a practical DTF transfer guide to help you achieve durable, professional results. From choosing a DTF printer setup to managing color and texture, the content is optimized for search while staying approachable for DIY DTF printing enthusiasts. Whether you sell online or craft for local markets, mastering the technique opens up flexible, scalable options for fabric decoration.
A different framing of this process is a film-based textile transfer, commonly called Direct-to-Film printing in many communities. LSI-friendly terms include film-on-fabric printing, transfer-on-film technology, and digital textile decoration using a coated carrier sheet. The workflow typically involves designing artwork, printing onto the film, applying a bonding powder, curing, and pressing the image onto the garment. Viewed through the lens of small studios and hobbyists, this approach offers flexibility across fabrics, strong color reproduction, and a friendly entry point compared to some traditional methods. For hobbyists and small shops, this broader framing supports DIY DTF printing as a viable, scalable option alongside DTG and screen printing.
DTF Transfers: A Beginner’s Guide to Direct-to-Film Printing
DTF transfers are a practical entry point for independent designers, small studios, and hobbyists who want durable, vibrant designs on a variety of fabrics. In Direct-to-Film printing, artwork is printed onto a specialized film, then a bonding powder is applied and cured before the image is pressed onto fabric. The result is a transfer that feels lighter on the garment with excellent color reproduction, and it works on a wide range of fabrics from cotton to blends and even dark textiles when a white base is used. This overview aligns with the common DTF transfer guide many newcomers follow to get started quickly.
Starting with DTF printing is straightforward: design, print onto film, apply bonding powder, cure, then transfer with heat. For beginners, the workflow remains consistent across fabric types, which makes DIY DTF printing approachable for home studios and side hustles. As you practice, you’ll adjust color management, film handling, and press settings to improve consistency and durability while keeping production simple.
DTF Printing vs. Other Methods: Why DIY DTF Printing Is Gaining Ground
Compared with direct-to-garment (DTG) and traditional screen printing, DTF printing offers strong versatility across fabrics and simpler color matching. The Direct-to-Film approach can deliver vivid colors on light and dark fabrics, often without heavy pretreatment, which lowers startup costs for small operations. In the context of a DTF transfer guide, many designers appreciate the forgiving workflow and the scalability of small runs.
On the design side, DTF printing enables easier management of color separations and white ink bases, helping you achieve consistent results across batches. For hobbyists exploring DIY DTF printing, this method provides a practical balance of quality, speed, and affordability, especially when you’re testing designs on multiple fabrics.
Setting Up Your DTF Printer: From Printer Setup to First Transfer
Choosing the right printer and inks is the first step in a successful DTF workflow. Look for a model with reliable print head performance, compatible pigment or water-based inks, a clear user community, and a healthy supply chain for DTF film and bonding powder. Your DTF printer setup should also include a clean print path, proper ventilation, and a dedicated space for curing to keep powders and residues contained.
Calibration is essential for repeatable results. Run test prints, adjust color profiles, and verify that the film feeds smoothly through the printer. Once you’re comfortable with the color output, practice the powder application and curing steps separately to ensure you can reproduce the transfer consistently before attempting full garments.
Choosing Materials for DTF Transfers: Film, Ink, Powder, and More
Material choices directly influence print quality in DTF transfers. Start with a high-quality DTF film that releases cleanly and accepts ink well, and pair it with ink designed for film printing—typically pigment-based for longevity on fabrics. White ink or a white base is often essential for opacity on dark fabrics, so plan color layers accordingly.
Adequate bonding powder, a reliable curing process, and a compatible heat press are equally important. Keep curing parameters in mind and store powders and films in a controlled environment to prevent moisture exposure. Optional embellishments, such as foil accents or rhinestones, can be applied after curing for extra customization.
The Complete DTF Transfer Workflow: Step-by-Step from Design to Finish
This section outlines the core workflow from concept to finished garment. Start with a design optimized for film printing, ensuring adequate resolution and color separations. Print onto the DTF film, apply a even bonding powder coating, cure the powder, and trim the film as needed before transfer.
Prepare the garment by pre-pressing to remove moisture, then position the film with the correct orientation and press parameters. Typical ranges are around 305–320°F (151–160°C) for 15–25 seconds, but always follow your material guidelines. After pressing, allow cooling and remove the film to reveal a vibrant, durable transfer, then follow up with proper care instructions to maintain longevity.
Troubleshooting Common DTF Printing Issues: From Fading to Ghosting
Fading colors and ghosting are common concerns during a DTF project. Check your ink levels, recalibrate color profiles, and verify that the white base layer is appropriate for the fabric you’re using. Ensure the film is dry and free of moisture that could cause color shifts during transfer.
For inconsistent results, inspect powder coverage and curing time. Uneven powder application or under- or over-curing can lead to incomplete transfers or surface residue. Always run test prints and garment swatches to diagnose issues before committing to full production, and adjust press temperature, dwell time, or fabric placement as needed.
Frequently Asked Questions
What are DTF transfers and how does Direct-to-Film printing work?
DTF transfers are the end-to-end process of printing a design onto a special film and transferring it to fabric with heat. In Direct-to-Film printing, the artwork is printed on a transparent DTF film, a bonding powder is applied and cured, and the image is then transferred to the garment using a heat press. The result is vibrant color, wide fabric compatibility, and a soft hand-feel, making it beginner-friendly.
What equipment do I need for a successful DTF printer setup?
Core items for a successful DTF printer setup include: a compatible printer with pigment or water-based inks designed for film printing; DTF film; white ink or a white base for dark fabrics; adhesive bonding powder; a curing oven or heat source; and a reliable heat press. Also maintain a clean workspace, correct color profiles, and regular maintenance for the film path and print heads.
How can I start DIY DTF printing at home?
DIY DTF printing at home follows a simple workflow: design your artwork, print onto the DTF film, apply bonding powder, cure the film, and transfer the image to fabric with heat. Start with basic designs, use a white base for dark fabrics, and run test prints on cotton or blends before producing final garments.
What is included in a DTF transfer guide and how can I use it to improve results?
A DTF transfer guide (DTF transfer guide) covers the full process from design and color management to post-transfer care. It includes selecting materials, setting up your printer, applying and curing powder, transferring with the right temperature and time, and troubleshooting common issues. Follow it step by step, do test prints, and adjust settings based on fabric type.
What are common issues in DTF printing and how do I troubleshoot them?
Common issues in DTF printing include faded colors, ghosting, uneven powder application, misalignment, and ink specks. Troubleshoot by verifying ink levels and color profiles, ensuring even powder coverage and thorough curing, checking heat press temperature and dwell time, and using alignment guides and clean film paths.
How should I care for garments after DTF transfers to ensure durability?
For best durability, wash garments with DTF transfers according to care labels: turn inside out, use cold or warm water on gentle cycles, avoid harsh detergents, and air-dry or tumble dry on low heat. Proper aftercare helps preserve color, bond strength, and the soft hand-feel of DTF transfers.
| Aspect | Summary | Why it matters | Tips |
|---|---|---|---|
| What are DTF transfers? | Direct-to-Film printing: print on film, apply bonding powder, and transfer to fabric with heat. | Produces vivid colors, soft hand-feel, and works on a wide range of fabrics. | Use a white ink base for dark fabrics; follow material guidelines for temperatures and times. |
| Workflow overview | Design → Print on film → Powder → Cure → Transfer → Finish. | A clear, repeatable process helps ensure consistent results. | Follow the recommended steps and test prints to verify alignment and color. |
| Materials & equipment | Printer with appropriate inks, DTF film, white ink/base, bonding powder, curing gear, heat press, cleaning supplies. | Quality components determine durability, color, and ease of use. | Keep film paths clean; perform test prints and calibrations. |
| Workspace setup | Clean, ventilated area; dedicated printing and curing zones; stable heat press surface. | Prevents contamination and ensures even transfers. | Organize the space, maintain ventilation, and store materials properly. |
| Common issues | Fading colors, uneven transfer, residue, foaming/crystalization, and misalignment. | Identifying root causes helps you adjust ink, film, curing, and temperature. | Calibrate color profiles; ensure flat garments; perform test runs before full production. |
| Safety & maintenance | Ventilation, gloves, proper disposal; regular printer head cleaning and consumables replacement. | Protects health and extends equipment life. | Wear PPE; follow local regulations; clean and maintain gear regularly. |
| DTF vs other methods | Versatile across fabrics; easier color management; lower startup costs for small batches. | Helps decide the best method per project and fabric type. | Consider batch size, fabric variety, and required color fidelity when choosing methods. |
Summary
Conclusion: DTF transfers offer a practical and scalable path for creators who want vibrant, durable designs on a range of fabrics. By understanding the core workflow, selecting the right materials, and following a reliable step-by-step process, beginners can produce professional-looking results with consistency. As you gain experience, you’ll refine your technique, optimize color management, and build a workflow that fits your budget and production goals. Whether you’re making custom apparel for a local market or exploring a new revenue stream, DTF transfers open up exciting possibilities for creative expression. Remember to start with the basics, test on multiple fabrics, and gradually expand your repertoire as you become more proficient with Direct-to-Film printing.