
Budget-Friendly DTF Setup makes it possible for home crafters to achieve vibrant transfers without a hefty investment, bringing professional-grade results within reach of small spaces and modest budgets, especially when you leverage the growing options in DTF home printing, designed for hobbyists and small studios alike. For hands-on learning, think of this as a DIY DTF setup that fits your space, scale, and budget, enabling you to test designs, refine color management, and build confidence without waiting for a large, expensive studio install. This budget-friendly framework also serves as a beginner DTF printing guide, with simple gear lists, practical workflows, and clear checkpoints that help you spot issues early, from film quality to heat-press timing, so you can iterate quickly and cheaply. Key to success is choosing dependable core components, like a versatile printer, appropriate film and powder, and a compact heat press, paired with a repeatable sequence that minimizes mistakes, preserves color integrity, and reduces waste as you grow. By following the steps in this approachable layout, you can launch small runs of customized apparel and gifts with consistent results, encourage experimentation, and eventually expand into additional items, confident that your budget remains under control while quality remains high.
Viewed through the lens of affordability, the same concept can be described as a cost-efficient DTF workflow designed for home studios and small shops. Alternative terms for the process include an affordable DTF system, a budget-minded transfer printer setup, or a practical, step-by-step guide to film-to-fabric transfers. From a reader’s perspective, this is a low-cost textile printing method that emphasizes reliable color reproduction, minimal waste, and scalable output, aligning with hobbyist projects or microbusiness aspirations. By framing the topic with practical gear choices and repeatable routines, the guide appeals to tinkerers who value value, efficiency, and tangible results over premium features.
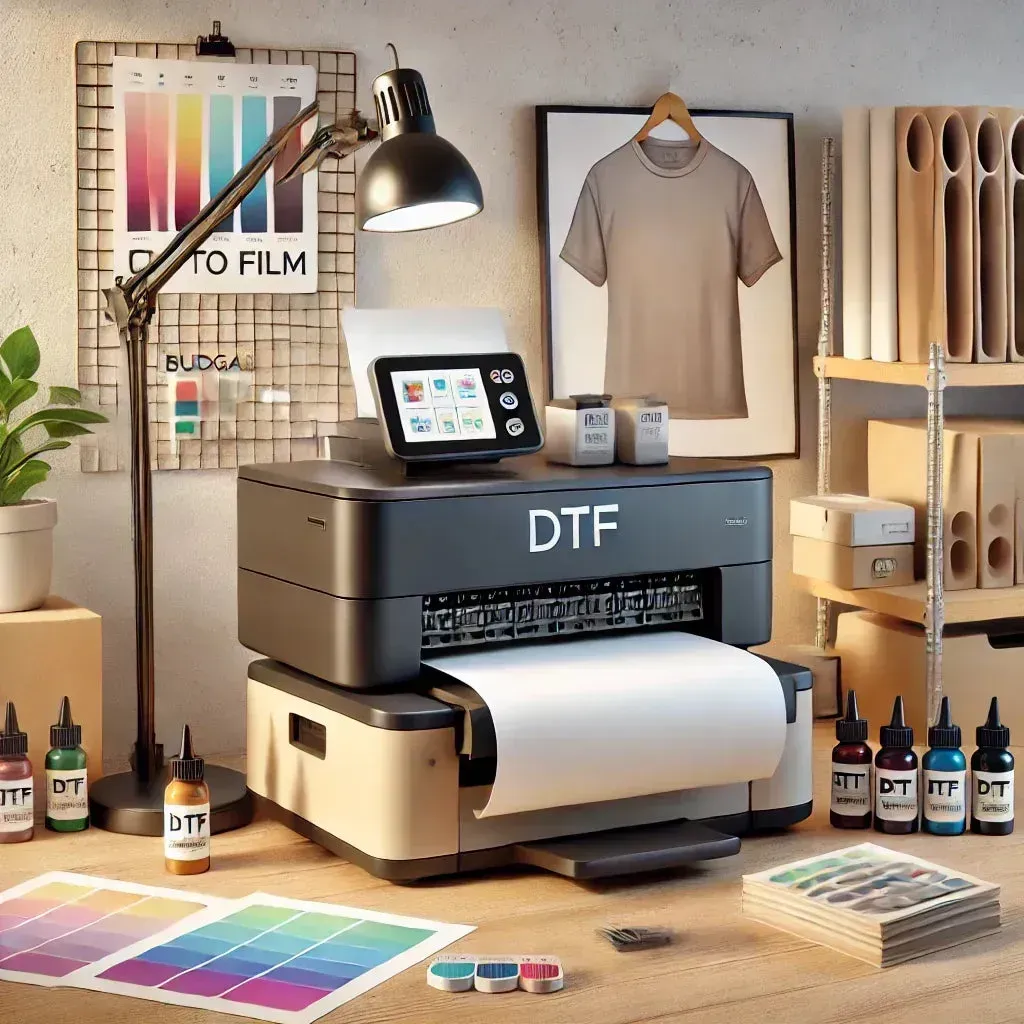
Getting Started with DTF Home Printing on a Budget
DTF home printing makes vibrant apparel accessible for hobbyists and small businesses, even when funds are limited. This beginner-friendly path emphasizes a practical, budget-conscious approach to building a reliable workflow without sacrificing quality. By focusing on essential gear and smart sourcing, you can begin producing professional-looking transfers from the comfort of your workspace.
As a starting guide, this approach aligns with a beginner DTF printing guide mindset: plan, test, and iterate. You’ll learn to evaluate printer options, consumables, and finishing tools in terms of value, reliability, and compatibility with your desired fabric types. The goal is a repeatable process that delivers crisp images and durable results while keeping costs sensible.
Choosing a DTF Transfer Printer and White Ink Options on a Budget
A key decision in a budget-friendly DTF setup is selecting a DTF transfer printer that fits both your budget and your workflow. You have two practical routes: using a standard color inkjet printer with a white-ink option or a convert kit, or opting for a used or refurbished printer that supports white ink. Either path can dramatically reduce upfront costs while enabling a capable DTF workflow.
When evaluating options, look for printers with compatible white-ink systems and strong aftermarket support. Verify return policies, test reliability, and ensure ink compatibility with your chosen film and powders. This step is essential for a smooth DIY DTF setup and reduces the risk of costly, repeated failures as you scale your operations.
Budget Consumables: Film, Powder, and Curing for Reliable Transfers
Consumables define transfer quality in a budget-focused DTF setup. Start with PET film designed for DTF transfers that offer good image clarity and translucency, selecting widths that match your printer and press. Pair this with a proven adhesive powder to create a strong bond between film and fabric, while avoiding overly cheap options that may clump or fail to adhere.
To optimize cost and performance, buy consumables in small quantities to test designs before committing to larger orders. A modest powder applicator, a safe curing method, and protective sheets help you achieve consistent powder adhesion and reliable transfers without overspending. This aligns with a DIY DTF setup mindset: test, refine, and scale as demand grows.
DIY DTF Workflow on a Budget: Printing, Powdering, and Curing
A practical budget workflow for DTF transfers starts with design and color management. Use a color-managed workflow to ensure accurate fabric reproduction, and print small test patches to verify color density and edge sharpness before committing designs to film. This sets the foundation for reliable, repeatable results in DTF home printing.
Next, print on DTF film according to manufacturer guidelines, ensure adequate white coverage where needed, and allow the film to dry fully before powder application. A light, even powder coat, followed by a proper cure, establishes a transfer-ready surface. By keeping each step simple and repeatable, you maintain consistency without the need for high-end equipment.
Budget-Friendly Finishing: Heat Presses, Protection, and Maintenance
The heat press is the core finishing piece in a budget setup. A compact 9×12 to 12×15 inch press covers most small-item needs and can fit within a modest budget. If you already own a crafts heat press, verify its compatibility with DTF transfers before investing in a dedicated unit. Focus on even pressure distribution, platen stability, and a reliable thermostat to prevent temperature fluctuations.
Safety and maintenance should not be overlooked. Build a clean, organized workspace with protective gear and appropriate ventilation when curing powders indoors. Regularly clean the printer platen and film path, calibrate temperatures for environmental changes, and keep a log of settings that yield consistent results across different fabrics.
Scaling Up: Growth Strategies with a Budget-Friendly DTF Setup
As demand grows, adopt a modular approach to expansion. Start with essential gear and incrementally upgrade components, prioritizing reliability for critical items like your printer and heat press. This allows you to scale your DTF home printing capabilities without a wholesale system overhaul.
Consider a mix of in-house production and outsourcing for peak periods. By blending a DIY DTF setup with selective outsourcing, you can manage costs while meeting larger orders. Transparent pricing, ongoing cost tracking, and a clear beginner DTF printing guide mindset help you maintain profitability as your business or hobby evolves.
Frequently Asked Questions
What is a Budget-Friendly DTF Setup and is it suitable for beginners in DTF home printing?
A Budget-Friendly DTF Setup is a cost‑conscious approach to Direct-to-Film printing that emphasizes reliable fundamentals over premium gear. For beginners in DTF home printing, it provides a repeatable workflow using affordable options such as a basic color inkjet printer with a white‑ink add‑on or a refurbished unit, plus budget film, powder, a compact heat press, and simple curing steps. With careful selection and testing, you can produce crisp transfers, manage costs, and learn the process without a large upfront investment.
How can I start DTF home printing on a budget using a DIY DTF setup?
Begin with a clear plan: evaluate demand, set a modest budget, and choose reliable but affordable gear. For a DIY DTF setup, options include a standard color printer with a white‑ink conversion kit or a used/refurbished printer that supports white ink, plus small quantities of DTF film and adhesive powder, a compact heat press, and basic curing tools. Buy consumables in small batches to test quality before scaling. This approach keeps DTF equipment on a budget while delivering repeatable results for small runs.
What components are essential for a DIY DTF setup on a budget?
Core items include a printer capable of white ink or a white‑ink kit, DTF film and adhesive powder, a powder shaker, a heat source for curing, a finishing heat press around 9×12 to 12×15 inches, a clean work surface, safety gear, and basic maintenance supplies. Prioritize reliable core gear and test early, upgrading components only as demand grows.
How should I choose a DTF transfer printer within a Budget-Friendly DTF Setup?
Focus on long-term reliability and compatibility. A budget-friendly DTF transfer printer option is a used or refurbished unit that supports white ink, or a standard color printer paired with a reputable white‑ink system. Check ink compatibility, availability of spare parts, and seller support. Verify print‑head access, ease of cleaning, and documented success in DTF workflows. Pair the printer with proper film, powder, and a heat press for consistent results.
What is the beginner DTF printing guide for a Budget-Friendly DTF Setup?
Follow a simple, repeatable workflow: design in a color‑managed format; print test patches; print on DTF film with appropriate settings; dry fully; apply powder evenly and cure; transfer to fabric with correct dwell times; perform a hot or cold peel as directed; and do a quality check. Use small batches to learn, log successful settings, and gradually expand as confidence and orders grow. This beginner DTF printing guide helps you stay within budget while achieving durable transfers.
How can I scale a Budget-Friendly DTF Setup to meet growing demand for DTF home printing?
Adopt a modular plan that allows upgrades one component at a time, such as moving from a basic printer to a dedicated DTF transfer printer, or adding a larger heat press as orders rise. Use a mix of in-house production for small runs and outsourcing during peak periods to keep fixed costs manageable. Maintain a clean workspace, track costs, and routinely calibrate temperature and color settings to preserve quality as you scale.
| Topic | Key Points |
|---|---|
| Printer and print capability |
|
| DTF film and adhesive powder |
|
| Powder application and curing tools |
|
| Heat press and finishing |
|
| Work surface, safety, and maintenance |
|
| A practical budget workflow for DTF transfers |
|
| Cost considerations and budgeting tips |
|
| Durability, maintenance, and troubleshooting |
|
| DIY DTF setup considerations and alternatives |
|
| Safety and best practices |
|
| Conclusion |
|
Summary
Budget-Friendly DTF Setup enables home printing that balances affordability with reliable results. This descriptive overview shows how a modest, repeatable workflow, paired with carefully chosen gear, can deliver vibrant, durable transfers for apparel and textiles. Begin with essential components, test quality with small batches, and expand thoughtfully as demand grows. With smart budgeting, reliable equipment, and disciplined process control, DTF home printing becomes a sustainable, rewarding craft or small business.